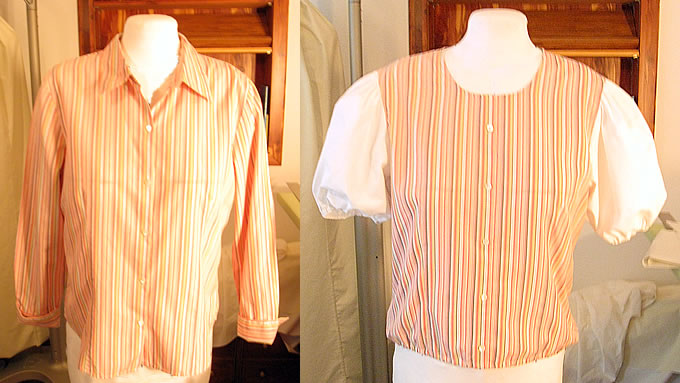
 Accurate dress forms are core tools for successful patternmaking. For those who would like to attempt to create their own forms to conform to individual sizing, several methods are available. I have created several plaster cast forms, one of which is pictured here. To be honest, these forms are difficult to cast, hard to cut off and frequently collapse. Out of four attempts, I have two successful plaster mold forms. They are a lot of work. The saran wrap method suggested by patternmaker Kathleen Fasanella sounds better, though I have not tried it and would prefer to stuff the shape for a form rather than cutting it apart to create flat pattern blocks, as she demonstrates. Duct tape and paper tape dress form creation methods are also popular. Another method, illustrated by Sew Chic Patterns, is to pad an existing dress form to your shape and sew a new cover for it.
Many used dress forms are available, and the Wolf brand is one of the more popular brands to purchase for restoration purposes. To re-pad worn bust or other areas, you may use cotton quilt batting that looks like felt, sold in fabric-like sheets. Cut circles of increasing sizes to fill in the area gradually until you achieve the shape and measurement desired. You may use a curved upholstery needle to sew the batting circles to the worn areas as needed, or you may use straight pins to anchor the batting.
Using linen, muslin or twill for recovering a dress form will simulate the original appearance, but you will need to have a precise pattern by which to cut the woven fabric, and at least one seam must be stitched on the form by hand to allow for placing the fabric shell on the form. Factory-covered forms come with woven fabric coverings because the patterns are well-established and reused many times, however creating your own woven shell from scratch could be time-consuming.
 An easier and faster method for recovering a form is to purchase a length of white rib knit fabric that comes in a tube, in as lightweight a thickness as possible. Slip the tube over the form and mark two dart-shaped seams over the shoulder areas to taper the tube from the tips of the shoulders to the top of the neck on each side. Sew the two dart seams, trim, turn and place the tube over the form. The rib knit fabric will conform to the shape of the form. Hand-stitch to close the tube at the top of the neck and at the bottom of the form. The rib knit will enlarge the form slightly compared to woven fabric coverings, but the difference is not enough to be significant.
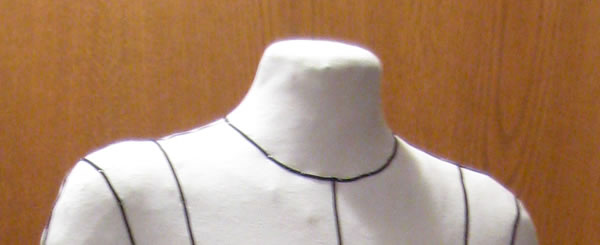
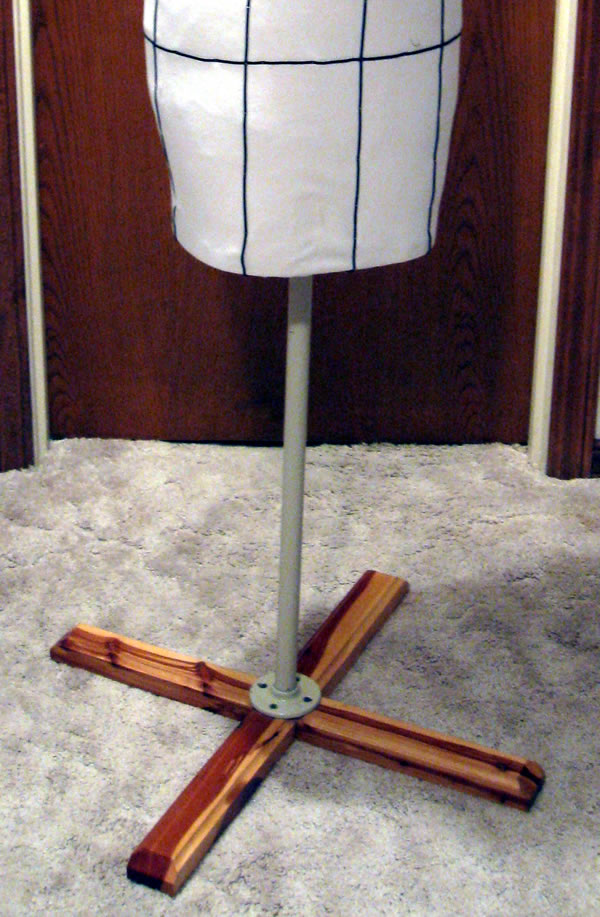
 After you have recovered the form, you may use about 6 yards of black soutache braid and a curved upholstery needle to hand-stitch the braid along critical measurement lines such as the bust level, waistline, hipline (typically 8"or 9" down from waist), center front and back, sideseams, front and back princess seams, shoulder seams, neckline, and armscyes. Various solutions may be implemented for a dressform stand including purchasing an older form from a reseller and using the stand for your new form. Shown is a custom-made stand using metal pipe fixtures and cedar wood.
Occasionally, a form manufacturer may offer recovering and repair services if you would like to hire the work done. Best wishes on finding or creating the perfect dress form to aid in your patternmaking and sewing!
